How to add python3 kernel to jupyter IPython notebook ?
This tutorial guides you on how to add python3 kernel to jupyter IPython notebook. The IPython kernel is the backend server that enables Python programmers to run cells within jupyter notebook.
Add python3 kernel to jupyter IPython notebook
The Jupyter notebook automatically ensures that the IPython kernel is available. However due to some issues if the required version of IPython kernel is not installed, you will need to install it manually.
Let’s say if you want to install IPython kernel for Python3, then follow the below steps.
Check the version of pip installed. If you are running Jupyter Notebook on Python2, you can setup a Python 3 kernel after checking your pip version. Install/upgrade latest version of pip
> python3 -m pip --version

pip 20.1.1 from C:\Users990\AppData\Local\Programs\Python\Python38-32\lib\site-packages\pip
After that install IPython kernel for Python 3 using following commands
python3 -m pip install ipykernel
python3 -m ipykernel install --user
Otherwise, is you are using conda, you can create Python3 environment for jupyter notebook in the following way.
conda create -n ipykernel_py3 python=3 ipykernel
source activate ipykernel_py3    # On Windows, remove the word 'source'
python -m ipykernel install --user
That’s it Python3 environment is added for jupyter notebook. To verify this you can stop and start the notebook server again.
> python -m notebook

[I 16:06:50.808 NotebookApp] The port 8888 is already in use, trying another port.
[I 16:06:50.809 NotebookApp] The port 8889 is already in use, trying another port.
[W 16:06:50.825 NotebookApp] Terminals not available (error was No module named 'winpty.cywinpty')
[I 16:06:50.826 NotebookApp] Serving notebooks from local directory: C:\Users990\Documents\sneppets\Workspaces\Python\Examples
[I 16:06:50.827 NotebookApp] Jupyter Notebook 6.3.0 is running at:
[I 16:06:50.827 NotebookApp] http://localhost:8890/?token=522f83d595e7df2cf386828838bcb2d93257362a3347ab08
[I 16:06:50.827 NotebookApp]  or http://127.0.0.1:8890/?token=522f83d595e7df2cf386828838bcb2d93257362a3347ab08
[I 16:06:50.827 NotebookApp] Use Control-C to stop this server and shut down all kernels (twice to skip confirmation).
[C 16:06:50.980 NotebookApp]

    To access the notebook, open this file in a browser:
        file:///C:/Users/91990/AppData/Roaming/jupyter/runtime/nbserver-22496-open.html
    Or copy and paste one of these URLs:
        http://localhost:8890/?token=522f83d595e7df2cf386828838bcb2d93257362a3347ab08
     or http://127.0.0.1:8890/?token=522f83d595e7df2cf386828838bcb2d93257362a3347ab08
[W 16:07:01.605 NotebookApp] Notebook MyFirstNotebook.ipynb is not trusted
[I 16:07:02.313 NotebookApp] Kernel started: 72986b0a-16ee-427f-8c76-1639377c0e36, name: python3
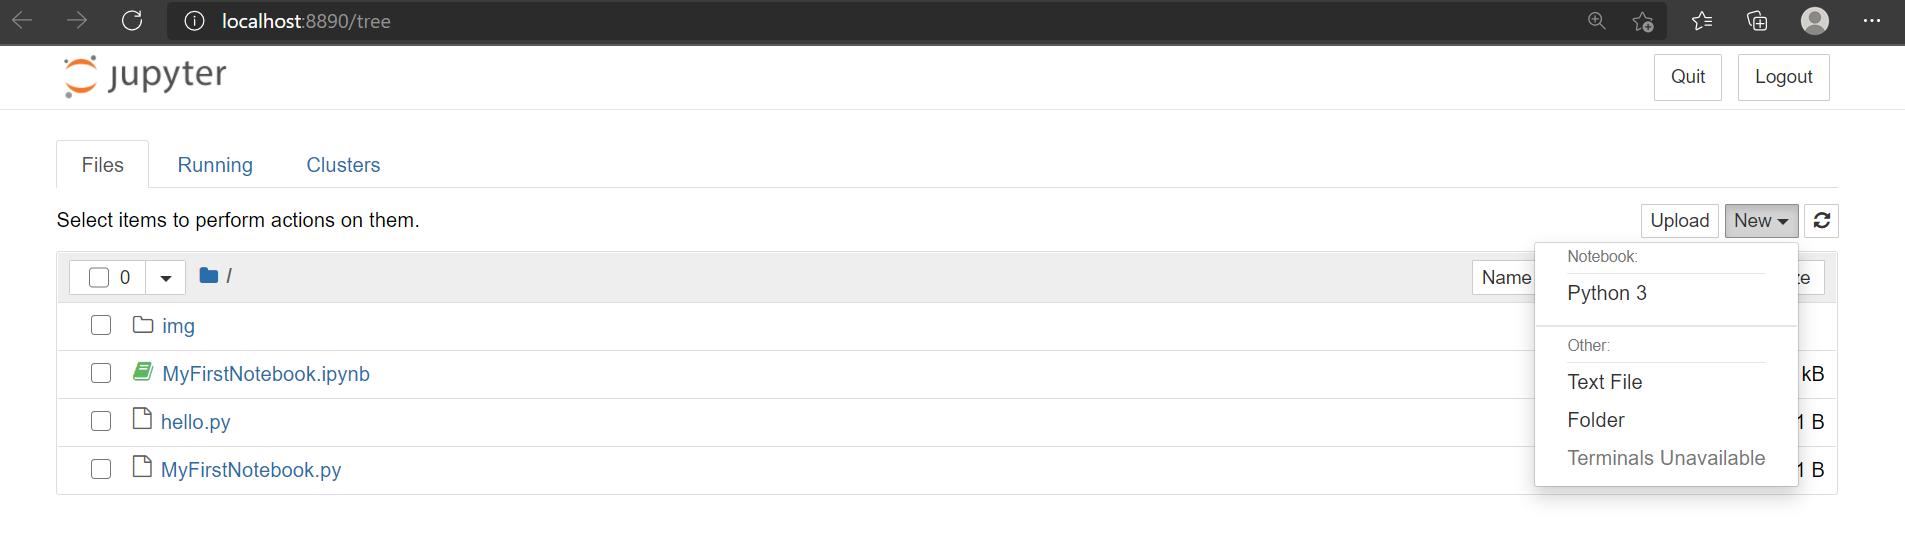
You could see the message “Kernel started…, name: python3“. Also, you could check the notebook interface opened in the new browser window as shown below.
Add Python 2 kernel to jupyter
Similarly, If you’re running Jupyter on Python 3, and you would like to set up a Python 2 kernel, then follow the below steps.
First, check your version of pip is greater than 9.0:
python2 -m pip --version
Then install IPython kernel for Python 2 using following commands
python2 -m pip install ipykernel
python2 -m ipykernel install --user
Or using conda, you can create a Python 2 environment.
conda create -n ipykernel_py2 python=2 ipykernel
source activate ipykernel_py2    # On Windows, remove the word 'source'
python -m ipykernel install --user
Note
IPython 6.0 stopped support for Python 2, so installing IPython on Python 2 will give you an older version (5.x series).
That’s it. You had learnt how to add python3 kernel to jupyter IPython notebook by two ways.
Hope it helped 🙂
You’ll also like:
- Reset jupyter notebook theme to default theme
- How to change the default theme in Jupyter Notebook ?
- Change the Jupyter Notebook startup folder in Windows & Mac
- To run Jupyter Notebook on Windows from command line
- Run a Jupyter Notebook .ipynb file from terminal or cmd prompt
- Amazon Linux AMI : apt-get command not found
- Linux: sudo: apt-get: command not found
- How to Start Stop Restart MariaDB on Linux OS ?
- Putty Fatal Error No supported authentication methods available
- How to find which users belongs to a specific group in linux
- Give write permissions for specific user or group for specific folder in linux
- How to unzip a zip file from Terminal (Google Cloud Shell)
- Build a Docker Image with a Dockerfile and Cloud Build in GCP?
- How to create GCP project on Google Cloud Platform
- MariaDB – How to set max_connections permanently ?
- How to create GCP project on Google Cloud Platform
- Is it possible to change Google Cloud Platform Project ID ?
- Create non-root SSH user account and provide access to specific folders
- How to install OpenJDK 11 in Ubuntu Machine ?